Desk-Lamp Cinema: A Five-Frame Workout for Toy Photographers
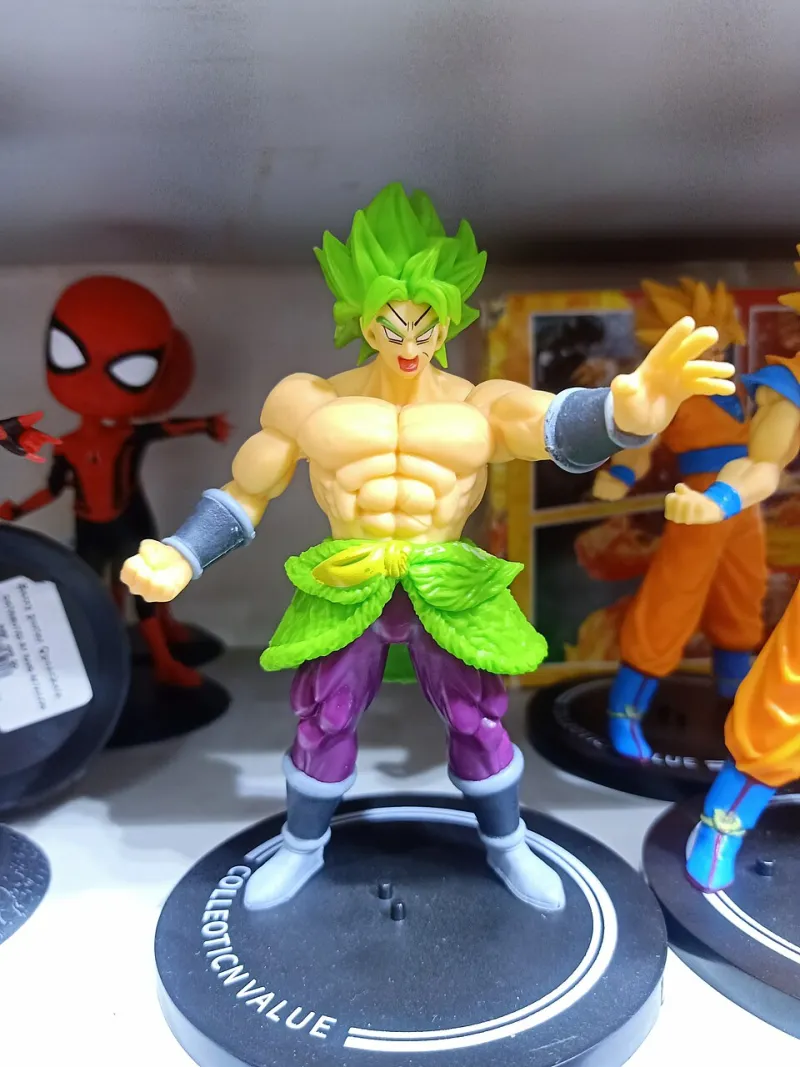
Photo: Suyash Dwivedi, CC BY-SA 4.0, via Wikimedia Commons
Toy photography is the gym membership you actually use. The stakes are low, the setup is tiny, and the feedback is immediate. You put a figure on a table, move a lamp, take a picture, and suddenly you are practicing lighting, composition, posing, and narrative at the same time. No client. No committee. No excuses about the weather.
This is a workout, not a gear flex. You need one action figure, one phone, one desk lamp, and a surface. A kitchen table, a nightstand, or a folded cardboard box will do. The point is to make five frames that each teach you something specific.
The setup: make the table disappear
Start by controlling what the camera sees. Clear the background. A black T-shirt, a sheet of gray paper, or a blank wall is enough. If you want a quick bounce card, tape a piece of white printer paper opposite the lamp. That is your entire studio.
Turn off the room lights. Use the desk lamp as your key light. Move it closer for harder shadows, farther for softer light, and above or below the figure to change the mood. On your phone, turn on the grid, tap to focus on the figure’s eyes or chest, and lock exposure if you can. If your phone has a timer, use it so you are not shaking the camera.
Shoot low. Most beginners photograph toys from standing height, which makes the figure look like a toy on a table. Get the phone down to the figure’s eye level or lower. That single move does more for scale than any expensive lens.
Posing: intention beats anatomy
A figure feels alive when the pose implies a next move. Before you bend a knee or twist an arm, decide what the character wants. Are they sneaking, waiting, reaching, listening, or about to bolt? The pose should answer that question.
Start with the line of action. Imagine a curve running from the head through the spine to the feet. If that line is a straight vertical stick, the pose will feel dead. Shift the hips, tilt the head, lift one shoulder. Asymmetry is your friend.
Hands are the hardest part. Use sticky tack to keep a grip or adjust a wrist. If the figure has interchangeable hands, choose the one that tells the clearest story. A clenched fist is not always better than an open hand. Sometimes a relaxed hand makes the character look more dangerous because it suggests confidence.
Scale tricks that sell the world
Scale is a magic trick built from camera position, foreground, and depth. Put something recognizable near the lens — a coffee mug, a set of keys, a houseplant — and let it go soft. The figure becomes small by comparison. Use a low angle and place the figure near the edge of a table so the background falls away into a blurry horizon.
Water is a great cheat. A few drops on a dark surface read as rain. A shallow dish reads as a puddle. Flour or cocoa powder can suggest snow or ash, but use it sparingly and keep it away from electronics. Cardboard painted with gray primer becomes concrete. A book spine becomes a city wall. The trick is not realism. The trick is giving the camera enough recognizable cues to believe the story.
Build tiny scenes in three layers
Every tiny scene needs a foreground, a subject, and a background. The foreground gives depth. The background gives context. The subject gives the story. You do not need all three to be elaborate. A blurred pencil in the foreground, a figure in the middle, and a stack of books in the back is enough.
Ask one narrative question per photo. Is the character arriving, hiding, waiting, or leaving? If you cannot answer that in one sentence, the scene is probably too busy. One prop is usually stronger than five.
The five-shot challenge
Do these in order. Give yourself 15 minutes per shot. Do not edit until the end.
Shot 1: The silhouette test
Put the lamp behind the figure and shoot toward the shadow. Expose for the bright background so the figure becomes a dark shape. The goal is a readable silhouette. If the character turns into a blob, change the pose. This trains you to think in shape first.
Quick tip: Turn the figure slightly so the profile is clear. A pure side view or a three-quarter angle usually reads better than a straight-on stance.
Shot 2: The low-angle hero
Put the phone on the table and tilt it up toward the figure. Place the lamp to one side so the face has shadow and shape. Get close enough that the figure fills the frame. The goal is presence. This trains you to use camera height as a storytelling tool.
Quick tip: If your phone cannot focus that close, move back slightly and crop later. Keep the figure’s eyes sharp.
Shot 3: The forced-perspective handoff
Make the figure interact with a human object. A mug, a phone, a pair of glasses, a set of car keys. Place the object close to the lens and the figure farther away, then line them up so it looks like the figure is holding, pushing, or reaching for it. The goal is scale. This trains you to compose across depth instead of just across the frame.
Quick tip: Use a small aperture if your phone allows it, or just accept the blur. The blur sells the trick.
Shot 4: The offscreen story
Give the figure one prop and imply something outside the frame. A tiny flashlight pointed at a dark corner. A weapon aimed at nothing. A character looking up at something we cannot see. The goal is narrative restraint. This trains you to leave space for the viewer’s imagination.
Quick tip: Shoot slightly wide. Negative space is part of the story.
Shot 5: The color echo
Choose a background color that repeats or contrasts with one color on the figure. Pose the figure so the color blocks make a strong graphic shape. The goal is intentional color. This trains you to see the frame as a design, not just a snapshot.
Quick tip: If the background is too bright, move the lamp farther away or flag it with a piece of cardboard. You want the figure to stay dominant.
Review like a coach
After the five shots, look at them as a set. Which one reads fastest? Which one has the clearest story? Which one has the best light? Delete the weakest frame. Pick one to edit lightly — crop, adjust exposure, cool or warm the color temperature. Do not over-process. The goal is training your eye, not hiding it.
Then do the workout again next week with the same figure. Change one variable: the lamp position, the background, the pose, or the story prompt. Repetition is where the learning sticks. Toy photography is not a lesser form of image-making. It is a compact, forgiving, ridiculously fun way to practice the same skills every photographer needs.